
In this article we will show you how to set tiered prices based on the quantity of units of a product a user wants to buy and in a wide range of rules and criteria to match one or more users, products, categories, roles, etc. This guide is targeted to online stores made with WordPress and Woocommerce.
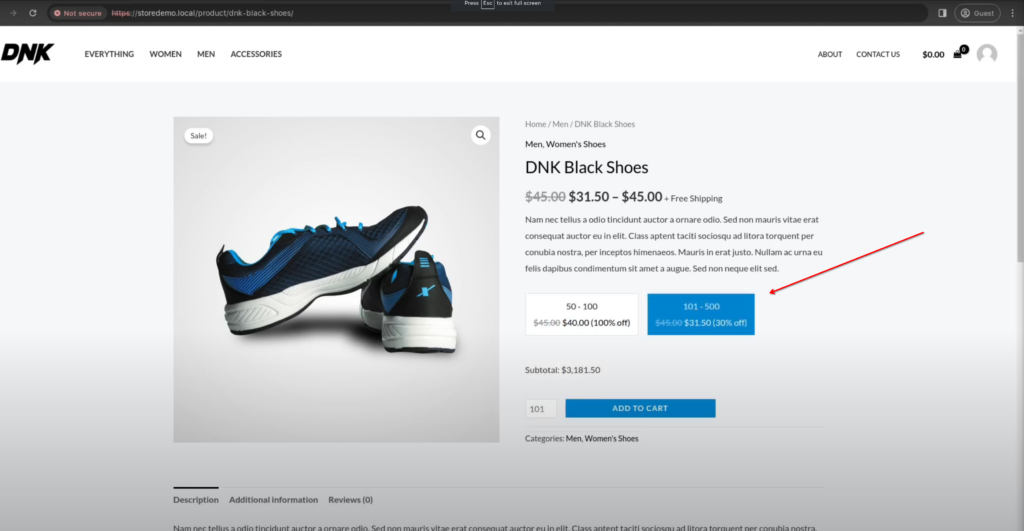
So, if you want to have something like what you see in the image above, you are in the right place.
No matter if you are a retailer, manage a wholesale business, or are offering a range of services, this innovative tool empowers you to optimize your pricing strategy to effectively cater to the ever-evolving demands of your broad spectrum of customers. With its user-friendly interface and wide flexibility, you can explore consumer behavior trends in depth, identify key market segments, and implement tailored pricing approaches that resonate with different customer preferences and purchasing habits. Whether you’re aiming to attract new customers, retain loyal clients, or maximize profits, this tool equips you with the insights and flexibility needed to thrive in today’s competitive marketplace.
In summary, if you have a WordPress + WooCommerce online store under your management, this tool is for you.
That being said, let me tell you how to achieve it.
On this occasion, we’d like to introduce you to the best WordPress plugin available in today’s market for setting up tiered pricing structures in an e-commerce store, based on the quantity of units and applied according to specific criteria or a combination of rules.
We’re referring to Alondra.
If you want to take a look at the key features of this tool, as well as the differences between the free and premium versions, you can check it out at this link. Additionally, we’d like to share with you the link to the official YouTube video of this plugin, which we believe explains it in a clear and simple manner.
That being said, if you’ve made up your mind to install or try the plugin, we provide you with download links here for both the free and premium versions, so you can choose the one that best fits your needs.
If you still want to learn a bit more about what this plugin offers or have a more practical idea of what it provides or how to use it before making a decision, stick around and I’ll show you next.
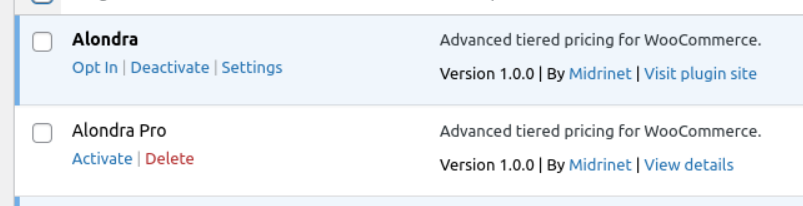
Once you install the plugin, you will see the following on the plugin list of your WordPress website.
The first one if you’ve insetalled the free version, or the second one if you’ve installed any of the Pro plans.
If you have any questions about how to download, install, and activate both the free or pro version of this plugin, you can follow this guide.
When you activate the Free plugin, the first thing we will show you is a screen like this, where you can choose one of the desired options (“Allow” or “Skip”). We have made this article in case you want to know more about the Opt-in Data Collection.
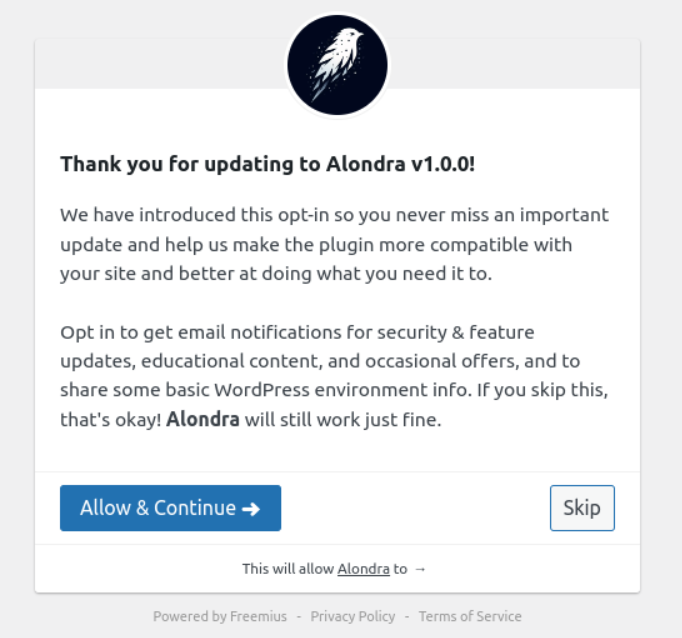
Then, your plugin will be successfully activated and ready to use.
However, if you’ve installed the Premium version of this tool, after activating, we will show you this screen so you can enter your license key we sent to you when you purchased the plugin:
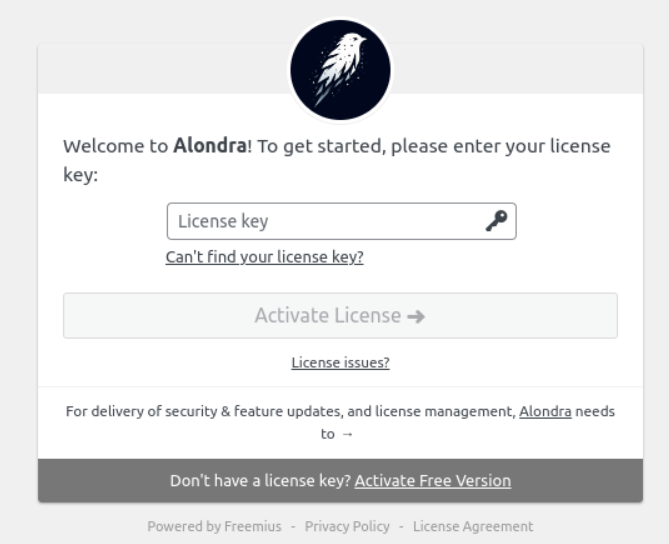
Once you’ve entered the key, you can choose one of the following options and Activate it.
Also, we provide you an option to activate the Free version on the gray banner below, in case you don’t want to use the license yet or don’t have one active.
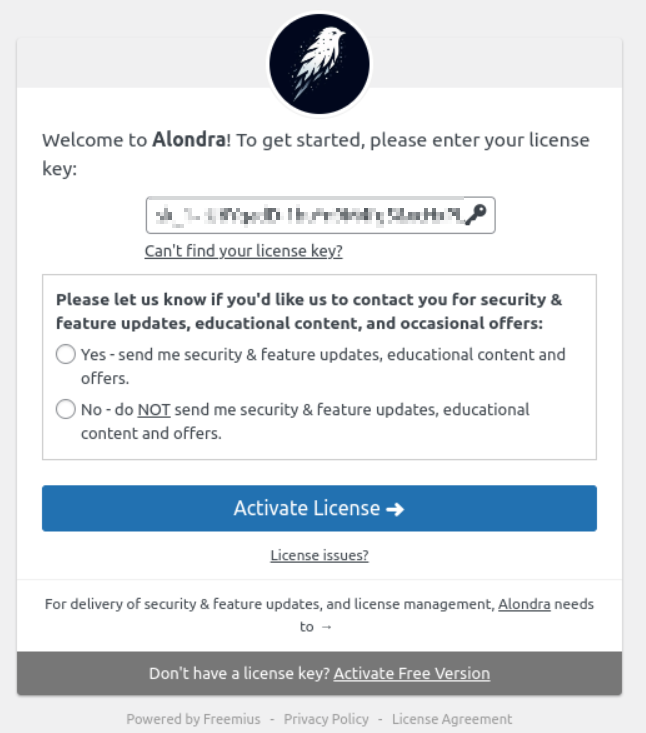
Now your plugin is successfully installed and ready to use.
Now that you have the plugin active, you will have only two screens in the backoffice to pay attention to. That is the Settings screen and the Tiered Prices screen.
As you can see, you can access the plugin Settings from the plugins list menu. Yes, we made it as simple and easy to use as possible:

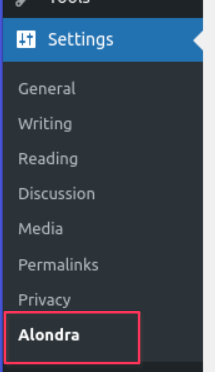
Also you can find it from the Settings WordPress menu, in the sidebar:
From the Setting page you have a variety of option to better set up your needs which we cover in more detail in the Alondra Full Documentation article. But here we bring you a quick look of all of the setting options you have:

Some of these options are available only in the Pro version. Click here and scroll down a little to see the table of Features comparisons between Free and Pro versions to get a better idea.
This is the main section from where you will be able to set any type of discounts matching with one or more rules or criterias.
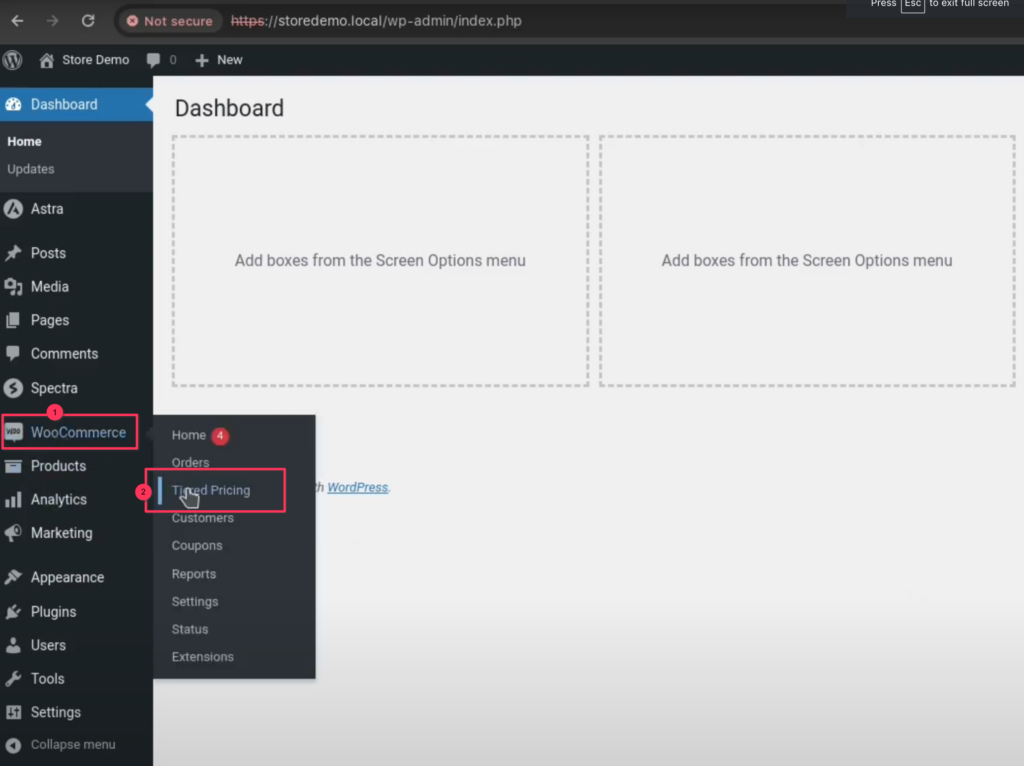
So, go to WooCommerce plugin and under that menu you will find the Tiered Pricing submenu.
You can find a more detailed guide on the Alondra Full Documentation article of how to use this Tiered Pricing screen, but in the following screenshots you will have a quite full overview of all you can do with this plugin:
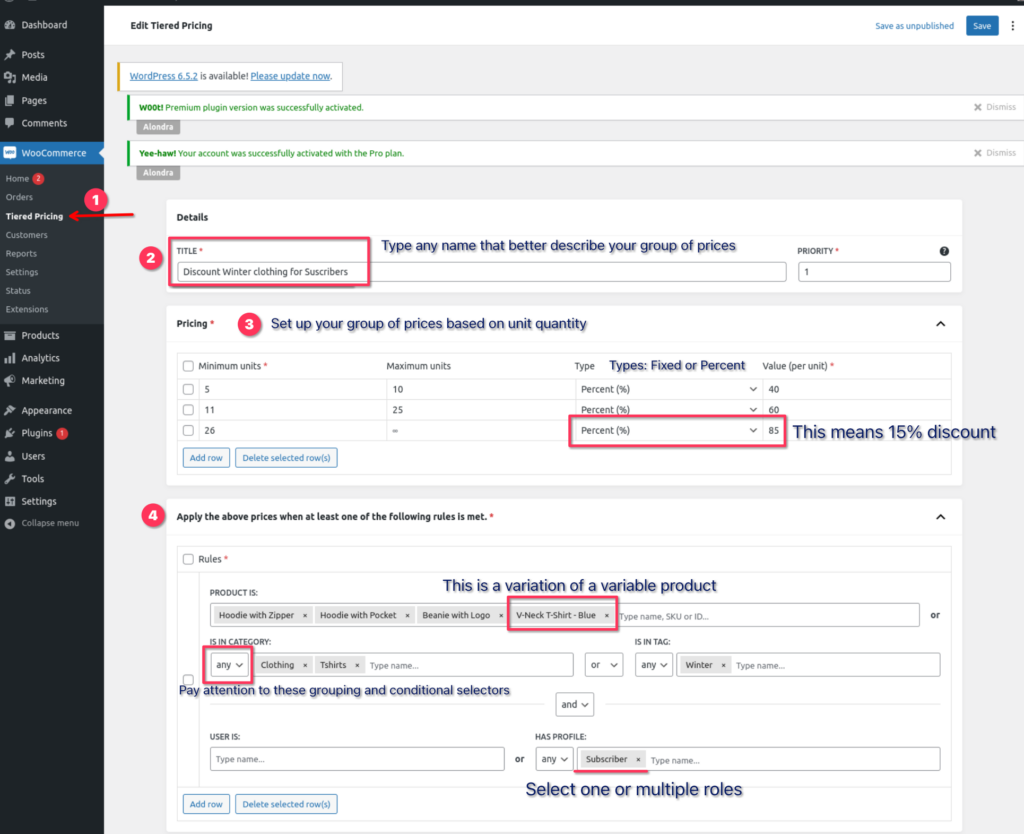
As you can see in the above screenshots, this is the most flexible and powerful tool for set up tiered princing on any WooCommerce store since the amount of flexibility and combinations you have.
And if this seems like not enough to you, at the top right corner you have a field called “Priority“, to define which group of Tiered Prices + rules will apply over others in case some rule(s) match in many of them.
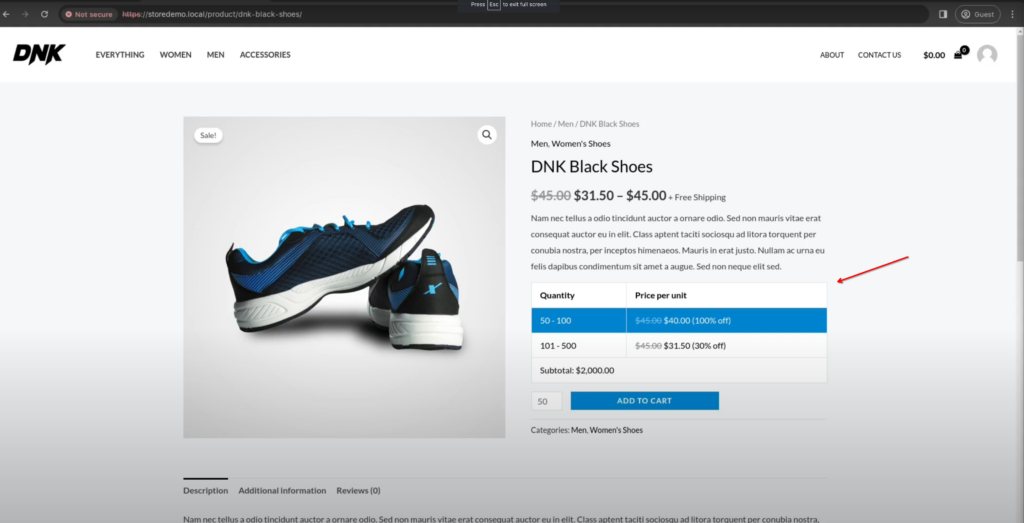
When you finish your configurations you can test the result by opening a product detail page and see what happens:
If you’ve selected the “Table design” option from settings, you will see something like this:
If you’ve selected the “Pill design” option from settings, you will see something like this:
If you’ve selected the “List design” option from settings, you will see something like this:

Also, you can configure the plugin to display the prices like this on the product listing pages:
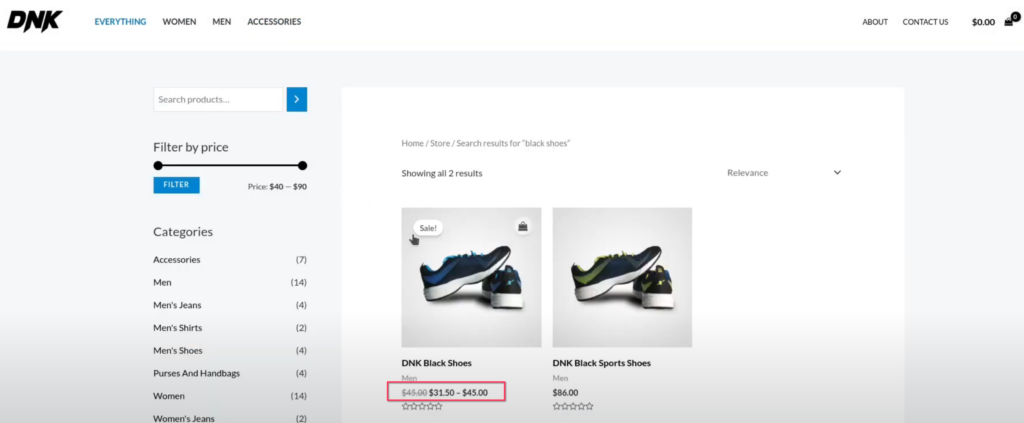
Now your customers can see the awesome discounts you have for them.
We hope you enjoy!